Getting started as a player
Installing the Beams
Charge, switch on and understand what the lights mean.
- At the Beam
Step 1: Unbox the Beam
The box holds the Beam, a USB-C cable and the mount plate.
Video: Unboxing the Beam
- At the Beam
Step 2: Charge the Beam
Plug the USB-C cable into the Beam. The small light pulses green while charging and turns solid green when full.
The small status light - Green, steadyOn, or fully charged on the charger
- Green, pulsingCharging
- Red, blinkingError, for example too hot to switch on
- Three red blinksBattery empty; the Beam switches off
- OffOff, or on standby on the charger
- At the Beam
Step 3: Switch the Beam on
Press the button briefly. The main light slowly breathes through the colours while the Beam waits for the app.
Another short press switches it off. Holding the button for ten seconds wipes its settings; that is a factory reset.
Video: Light indicator
- At the Beam
Step 4: Leave it be
A Beam that isn't connected to a phone for ten minutes switches itself off. On the charger it stays on standby.
Also useful
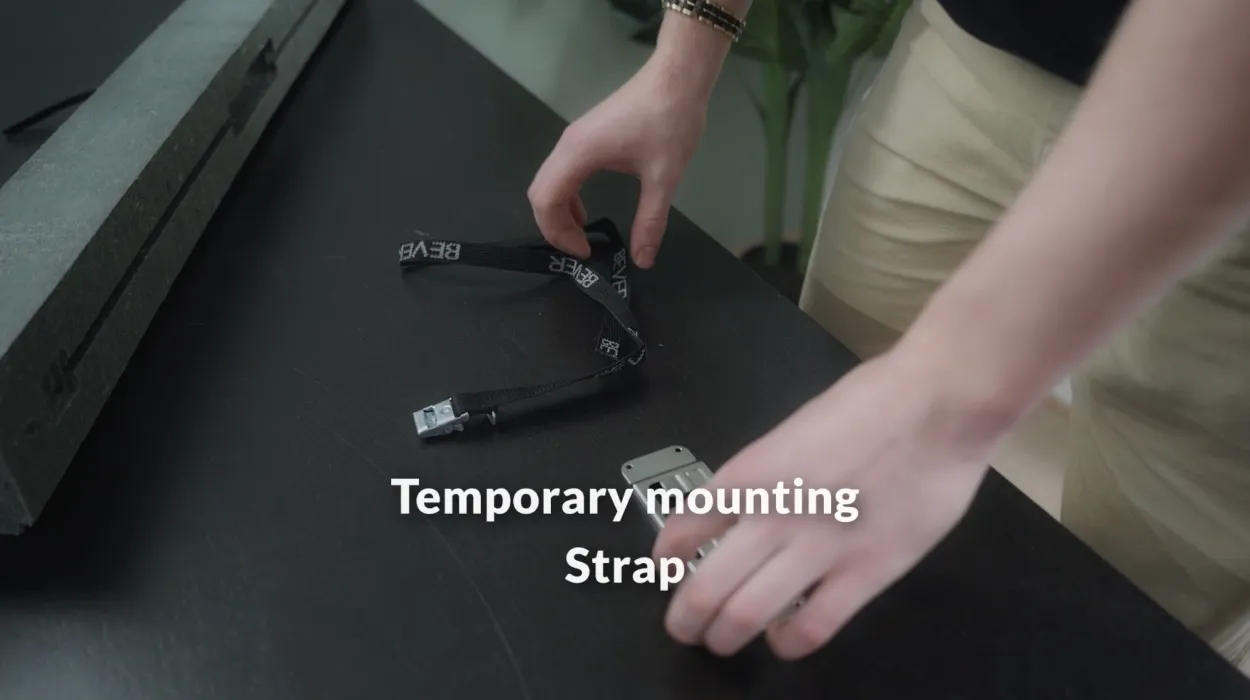
- Mounting the BeamClick the Beam onto the mount plate and attach the plate with the strap, the sticker or screws.
- Telling when the battery is emptyThe small light on the Beam and the percentage in the app tell the same story.
- Pairing the BeamsConnect each Beam over Bluetooth; the app gives it a colour and a name.
- Creating an account and linking your SkillTagAn account, then a scan of the band: that is how every player gets a profile.
- Playing at home with a subscriptionOutside an event you play with Beams on a seat from the Player or Family plan.
- Your first game in regular modePick a challenge, set the mode to Regular, check in with your band and play.

 1-3